Lay out your tools before buying a board, hooks, or a pile of bins.
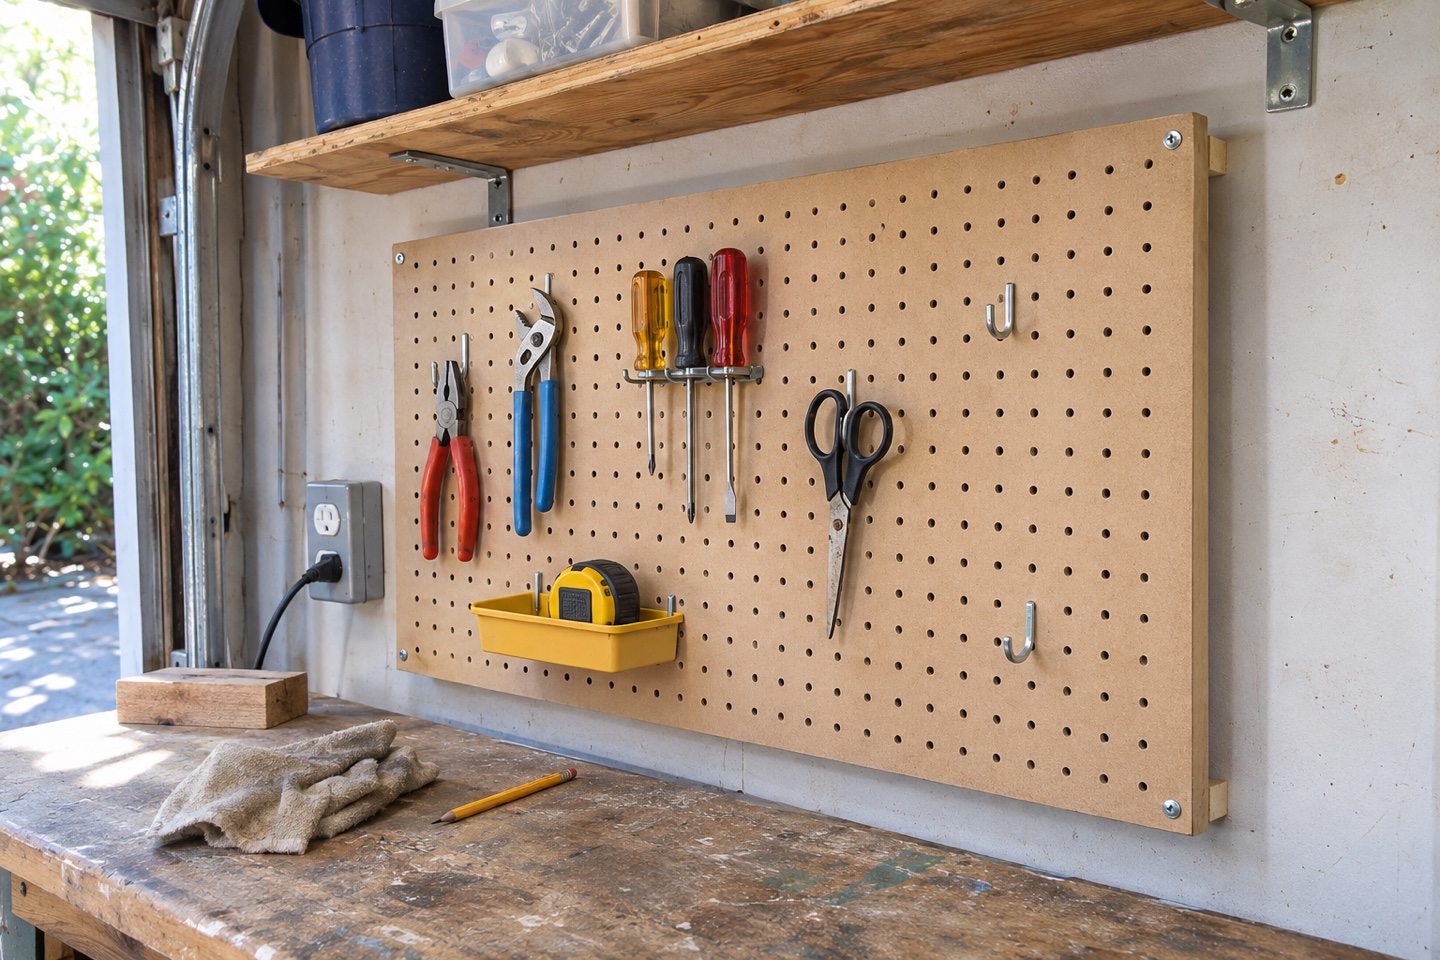
| Component | Check before buying | Check after mounting |
|---|---|---|
| Panel | Overall width, height and hole or slot pattern | Panel is secure against the specified supports |
| Hook | Hole or slot fit and required rear clearance | Hook seats and stays in when the tool is lifted |
| Tray | Load rating and clearance above bench | Contents remain within the supported load |
Lay out the tools on the bench
Trace the area you want the board to cover on paper. Lay out your most-used tools and leave room to lift each one off its hook. Keep measuring and marking tools where you can reach them while holding a workpiece.
Check the board’s hardware
Check the hole size and spacing. Confirm the hooks and trays are made for that board. Many systems also need rear clearance so the hooks can seat fully.
Mount for the wall and the load
Check what the wall is made of, follow the board maker’s mounting and load instructions, and choose suitable fixings. Put heavier items on the bench or in drawers if they exceed the board or hook rating.
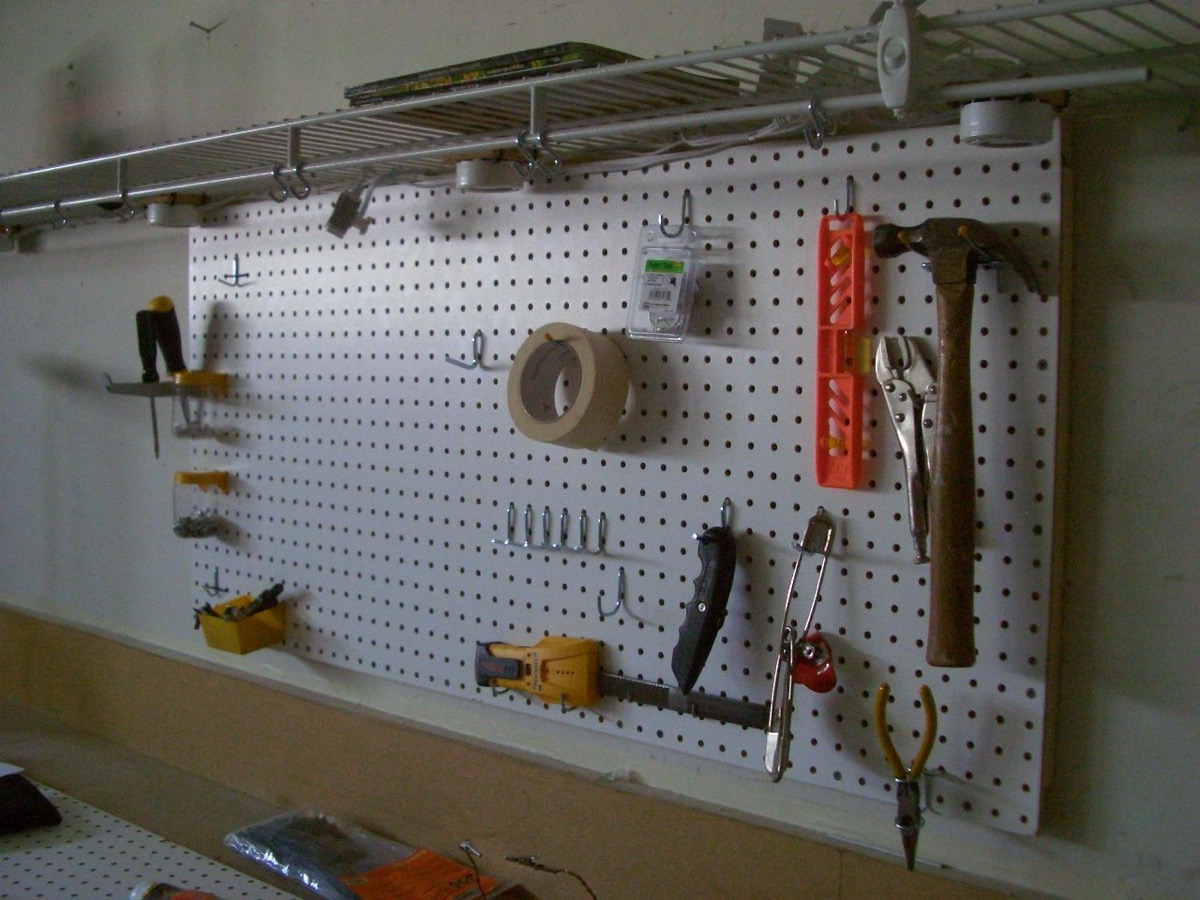
Mock up the board with paper
Tape a paper outline above the workbench. Mark where the screwdriver rack, longest tool, and small parts tray will go. Check that each tool clears the shelf when you lift it, and leave a strip of free holes for things you buy later.
Measure the installed footprint
Write down the width and height of each panel and add any spacing required by the kit. Check the mounting points against your wall and read the manufacturer’s load limits. Pick hooks that suit the panel’s round holes or slots, then put a few lightweight tools on first and check how easily each one comes off.
Map the reach zones in ten minutes
Tape an outline above the bench. Put measuring and marking tools where your free hand can reach them. Mark the path each tool takes out of its hook and leave space above long screwdrivers. Save the lower edge for small trays only if they clear the bench and your workpieces.
Trial-fit one hook before moving the whole rack
On an installed panel, seat one compatible hook and remove a light tool a few times. If the hook comes up with it, check the hole pattern, stabilizer and clearance behind the board. Follow the panel maker’s mounting and load instructions and keep heavy tools off hooks that are below the required rating.